Build and publish your own resume website from scratch with HTML and CSS. Sixteen short lessons, no frameworks, no setup. Your first real project, live on the internet.
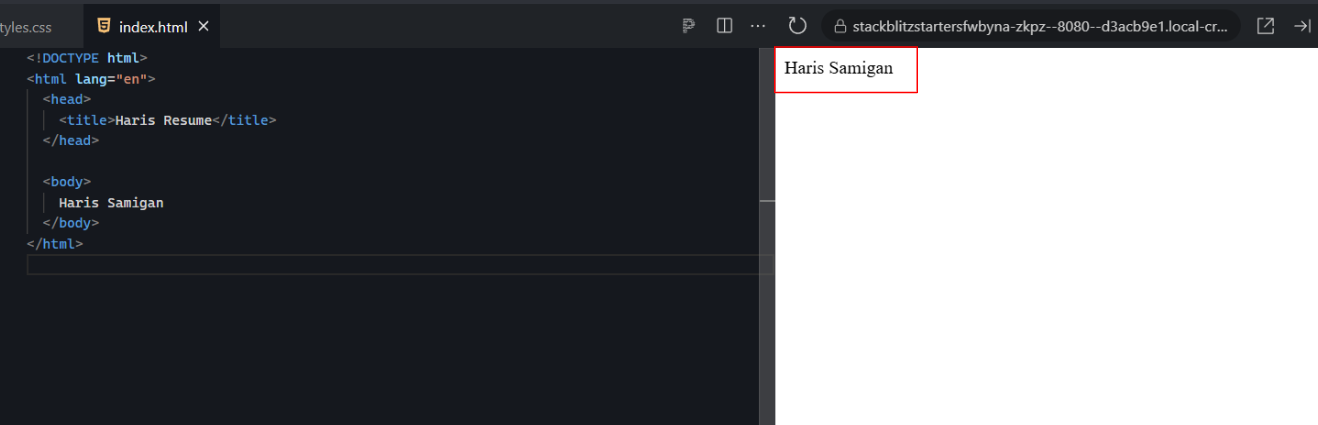
Save your code with Ctrl + S (or Cmd + S), and it updates automatically
in the preview on the right. With a blink of an eye, the old text changes to
your name.
This lesson has a task checklist in the portal, where you tick off each step and get feedback on the code you write. Do this lesson free.
Lesson 6 of 16 · 2 min
See your site live
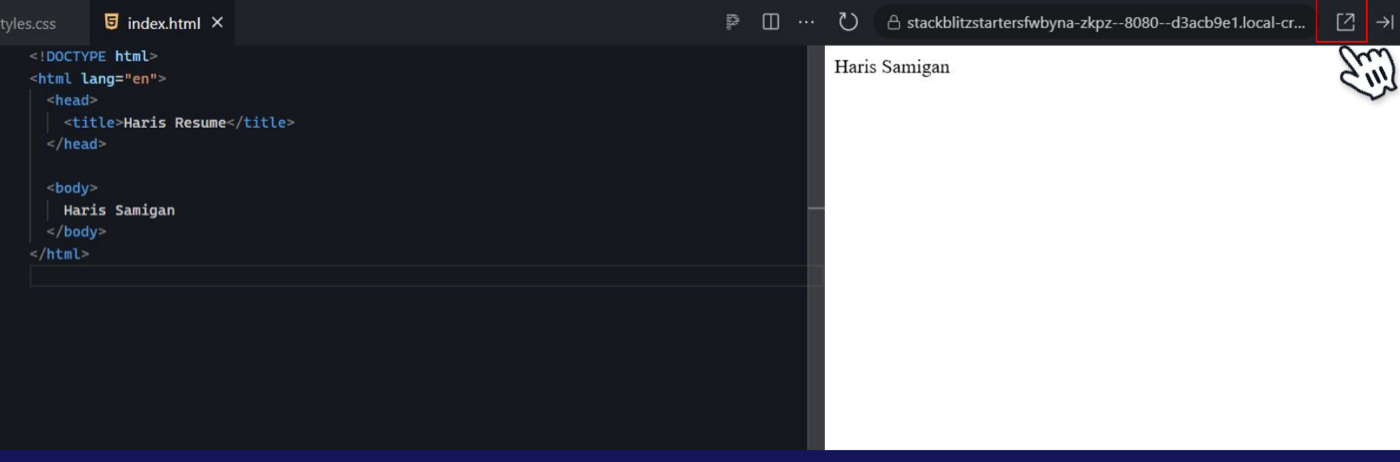
Let's open your website in its own browser tab. Click the open in new tab
icon at the top of the preview.
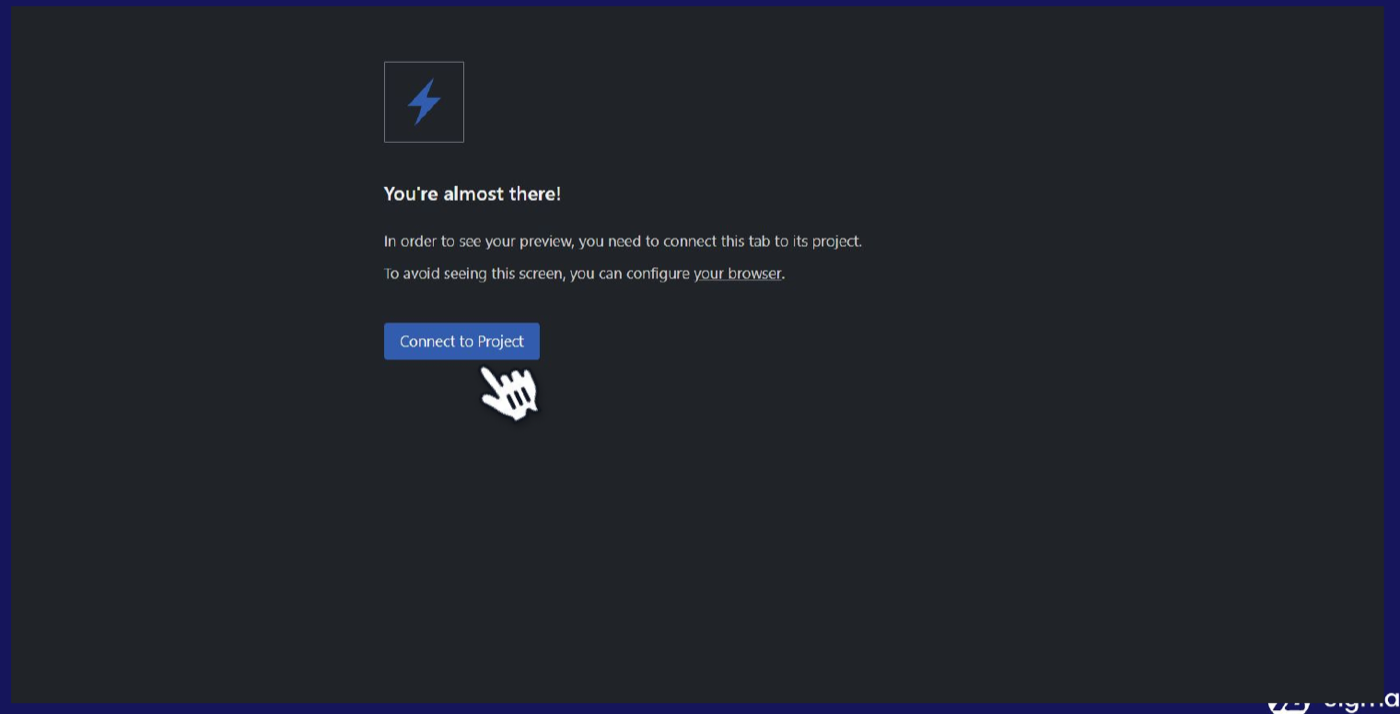
The new tab may ask you to connect first. Click Connect to Project.
A tab opens with your name as its title, for example Haris Resume.
🎉 Congrats on creating your first live website! Take a breath, then let's
understand what you just did.
This lesson has 1 quiz in the portal, where you tick off each step and get feedback on the code you write. Do this lesson free.
Lesson 7 of 16 · 3 min
What is HTML?
HTML is the building block of websites.
HTML stands for HyperText Markup Language. It is used to create and
structure the content of a website. .html is the file type.
Why index.html? Because in web development, index refers to the default
or home page of a website. When a browser opens your site, it looks for the
index page first.
This lesson has 2 quizzes in the portal, where you tick off each step and get feedback on the code you write. Do this lesson free.
Lesson 8 of 16 · 3 min
How HTML tags work
We build pages with HTML tags. For example, to create a paragraph of text:
<p>This is a paragraph of text.</p>
Here is what each part is called:
<p> is the opening tag.
</p> is the closing tag (the slash means "end this").
The text between them, "This is a paragraph of text.", is the content.
Together, the opening tag, content, and closing tag make one element.
This lesson has 2 quizzes in the portal, where you tick off each step and get feedback on the code you write. Do this lesson free.
Lesson 9 of 16 · 3 min
The page skeleton (boilerplate)
Every website starts from a small starter code (also called boilerplate).
It is the least amount of code needed to create a website:
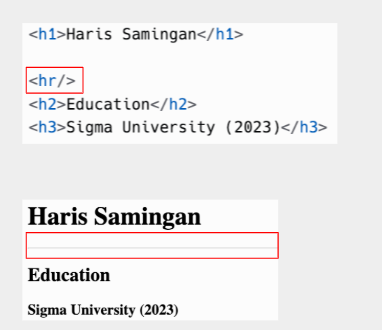
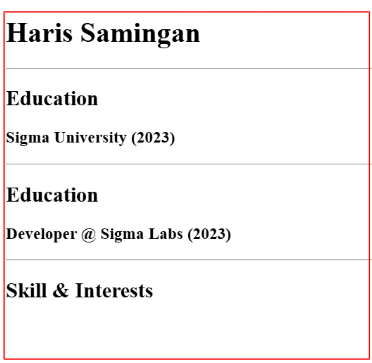
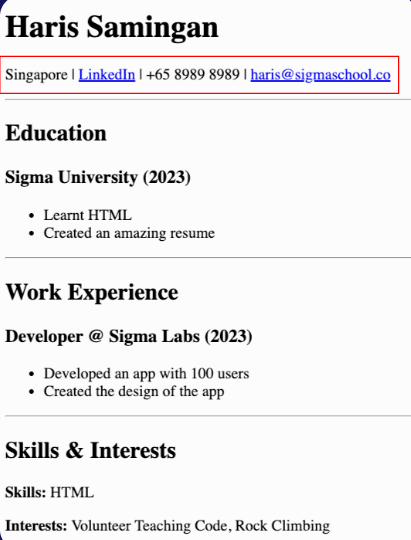
Notice how the <h2> sections and <hr> lines give the page a clear, scannable
structure.
This lesson has 1 quiz in the portal, where you tick off each step and get feedback on the code you write. Do this lesson free.
Lesson 12 of 16 · 3 min
Add lists
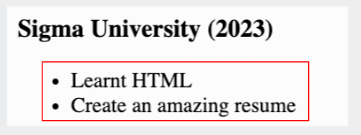
The <ul> and <li> tags create an unordered list (bullet points). <ul>
is the container for the list, and each <li> is one item.
Add a list of achievements under each entry. Find the right spot and add the
lists, then save:
<h3>Sigma University (2023)</h3>
<ul>
  <li>Learnt HTML</li>
  <li>Created an amazing resume</li>
</ul>
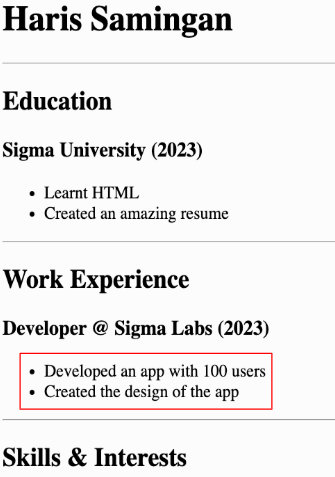
Do the same under your Experience entry:
<h3>Developer @ Sigma Labs (2023)</h3>
<ul>
<li>Developed an app with 100 users</li>
<li>Created the design of the app</li>
</ul>
This lesson has a task checklist in the portal, where you tick off each step and get feedback on the code you write. Do this lesson free.
Lesson 13 of 16 · 3 min
How to use code parts
In the next lessons, we will sometimes show you only the part of the code
that needs to change, instead of repeating the full file. We call these
snippets code parts.
When you see a code part:
Keep the code that is already in your file.
Find the matching section, such as <head> or <body>.
Add or update only the code shown in the lesson.
Watch this walkthrough to see how to read, understand, and add code parts to
your project:
How to add code parts
This lesson has a task checklist in the portal, where you tick off each step and get feedback on the code you write. Do this lesson free.
Lesson 14 of 16 · 4 min
Paragraphs, bold, and links
Two more tags finish the page.
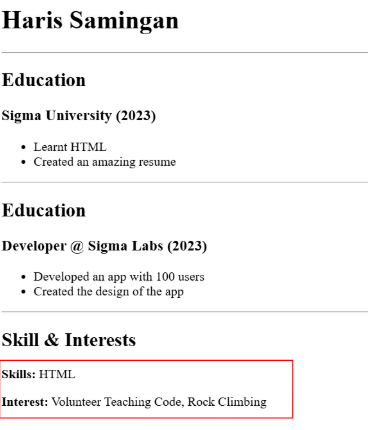
The <p> tag creates a paragraph of text, and the <b> tag makes text bold.
Add your skills and interests under that section, then save:
Now let's add a link so recruiters can reach you. The <a> tag, the anchor
tag, creates a link. It needs an hrefattribute, which holds the URL the
link goes to. (href is short for hypertext reference, another word for URL.)
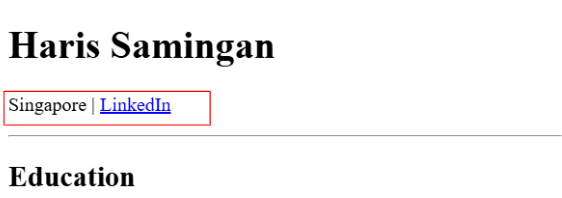
Add a line under your name with your location and LinkedIn, then save:
Save, then click your email link in the preview. It should open an email app
addressed to you.
This lesson has a task checklist in the portal, where you tick off each step and get feedback on the code you write. Do this lesson free.
Lesson 16 of 16 · 3 min
Publish your resume
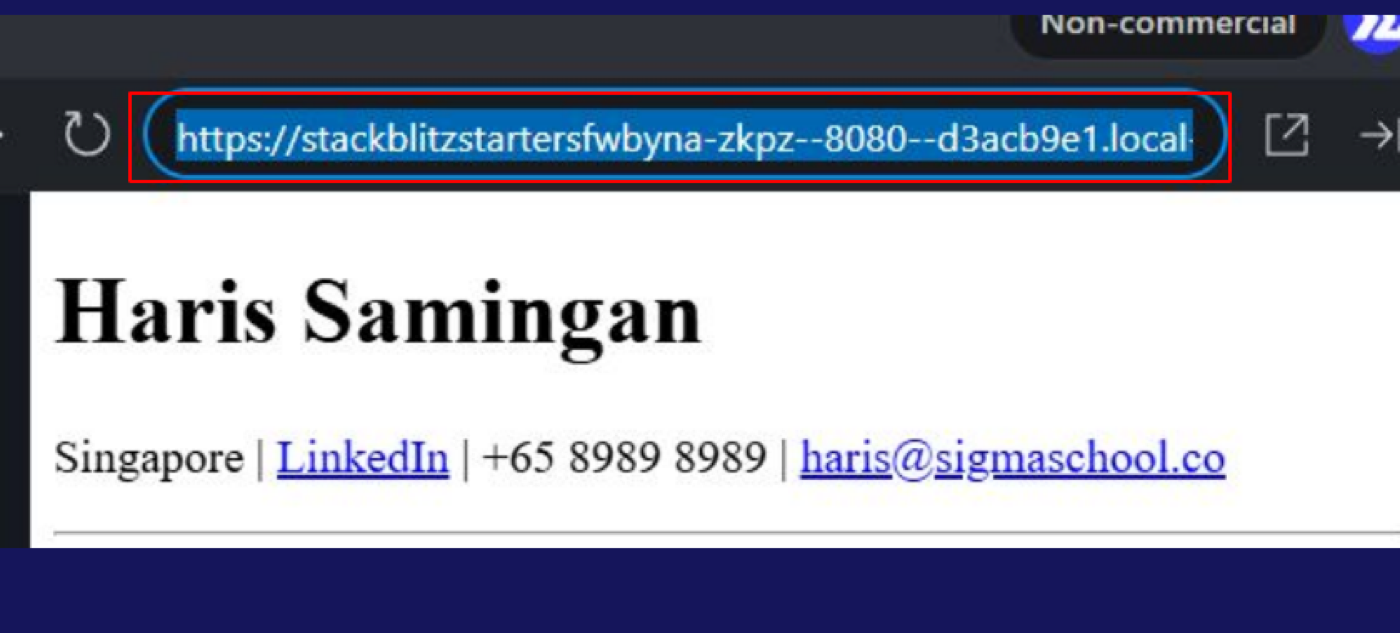
The best part about StackBlitz is that your project is already live. The
public link for your site is the URL in your preview's address bar.
Copy that link and open it in a new tab. That is your resume website, live on
the internet, ready to share.
🎉 Congratulations! You have created your first website.
Want to keep going? Here is a video on how to write a resume with no job experience.
How To Write a Resume with No Job Experience
If you ever get stuck, compare your work with the
full code example.
Day 1 completed!
This lesson has a task checklist in the portal, where you tick off each step and get feedback on the code you write. Do this lesson free.
Reading it is step one. Doing it is the point.
Everything above is the full teaching content, free to read. The same lessons in Sigmo add 10 quizzes that mark themselves, 8 hands-on checklists, and an AI coding buddy that answers questions about the exact line you are stuck on. No card needed.
The free trial puts you inside Sigmo, the learning portal our students use every day, with the quizzes, the checklists and an AI buddy on every lesson. No card needed.